Audio Codec Streaming Device Manual
Project: Device User Guide | page_id: 138
This manual applies to the audio encoding/decoding video encoder.
Audio Encoding/Decoding Video Encoder
Device Introduction
The RTSP-RTMP bidirectional conversion video encoder can be used for RTSP-to-RTMP streaming. It is a multi-function video encoder for a wide range of scenarios.
First Use
Use the Device Search Assistant to search for and modify the device IP. The device default IP is 192.168.0.15.
1. User Interface
This device is configured through a web management interface and can be managed and set up from PCs, tablets, mobile phones and other terminals. On a PC, Google Chrome is recommended for device management.

The default factory IP address of this device is 192.168.0.15. After changing the device IP with our dedicated Device Search Assistant software (see the Device Search Assistant manual for instructions), enter the device IP address in Google Chrome to access the device management login page, as shown below:
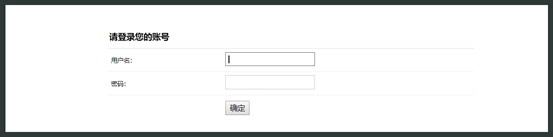
Figure 1
Enter the username and password. Initial default username: admin, password: admin. Click OK to enter the device configuration page. The device configuration page is divided into two windows: the left one is the function settings window and the right one is the function content window, as shown below:
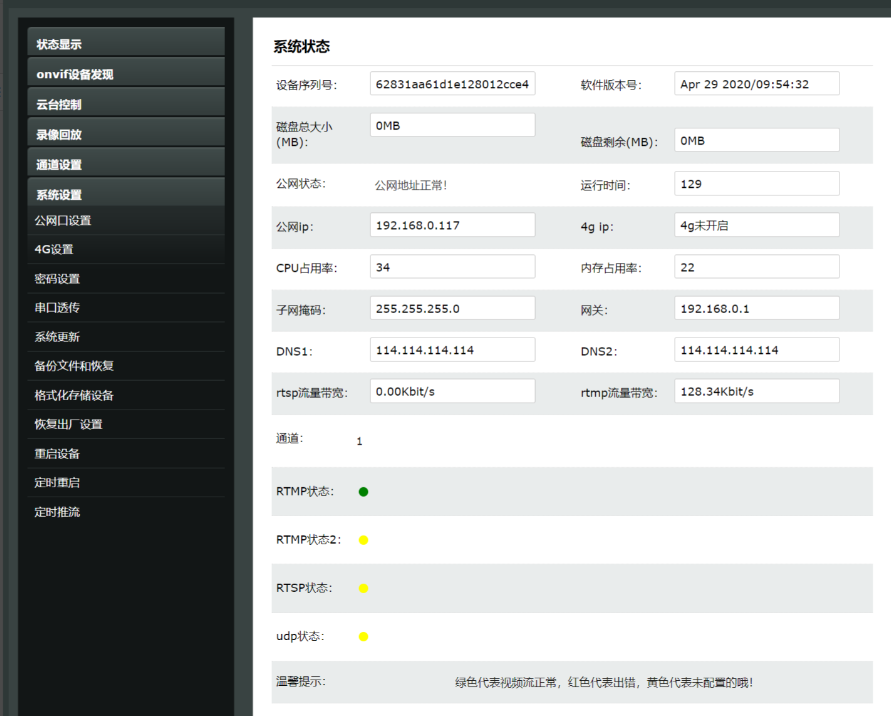
Figure 2
2. Status Display
The home page of the configuration page shows the device operating status, as shown below:
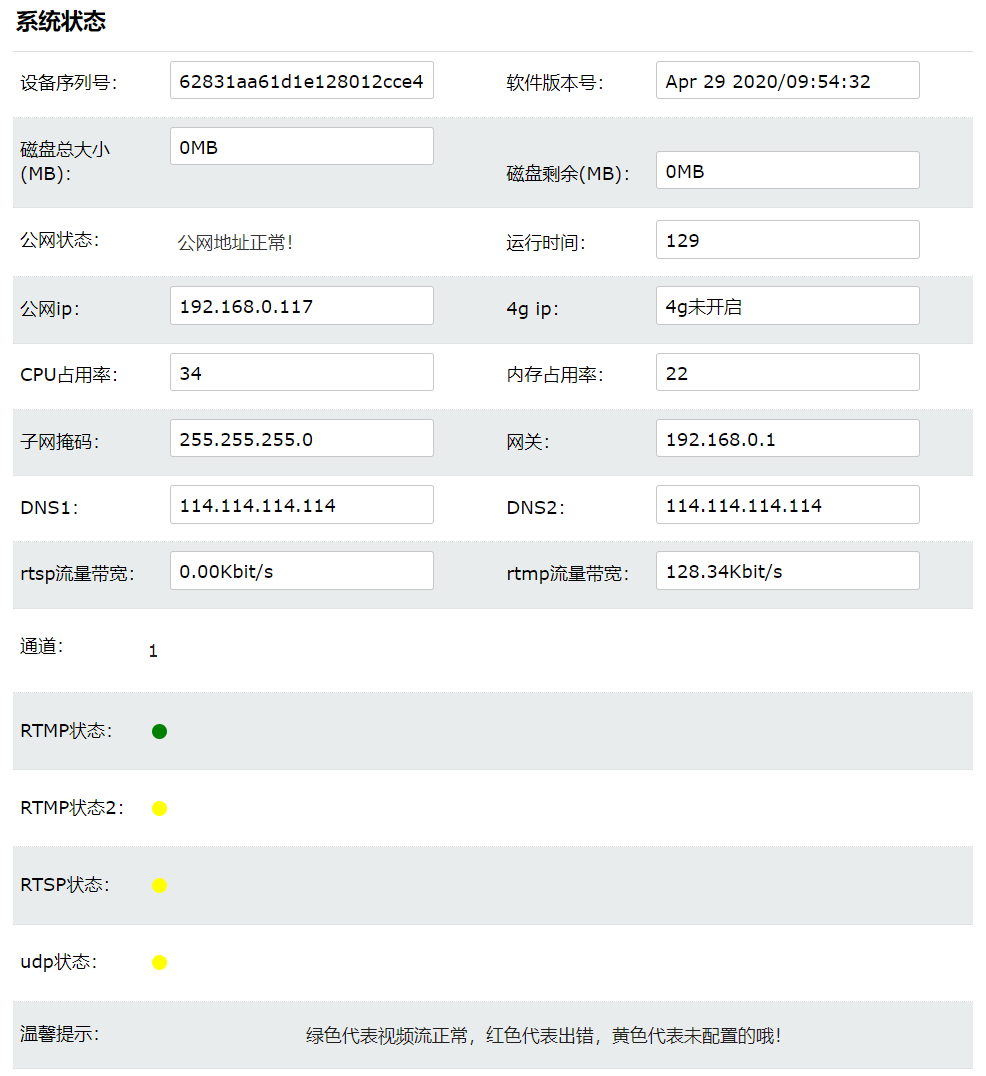
Figure 3
CPU usage must not exceed 90%.
2.1 Interface Introduction
The status display function shows the current operating status of the system, including software version, network information, rtsp/rtmp real-time bandwidth information, uptime, CPU and memory usage, and channel running status.
2.2 Channel Running Status Indicator Introduction
On the running status page you can view the running status of all channels. There are three colors.

Green: normal.

Yellow: not configured.

Red: error.
3. ONVIF Device Discovery
The ONVIF device discovery function is not needed on the audio encoding video encoder.
4. PTZ Control
The PTZ control function is not needed on the audio encoding video encoder.
5. Recording Playback
The recording playback function requires local TF card storage. This function supports audio storage, playback and download.

By selecting the date and channel number, you can play back the audio of the specified date and channel (the audio must already be stored). Audio download supports downloading the video of any time range within the 24 hours of the selected date. Simply select the start time and end time below and click "Start Download" to download the audio file to your local computer for storage and playback.
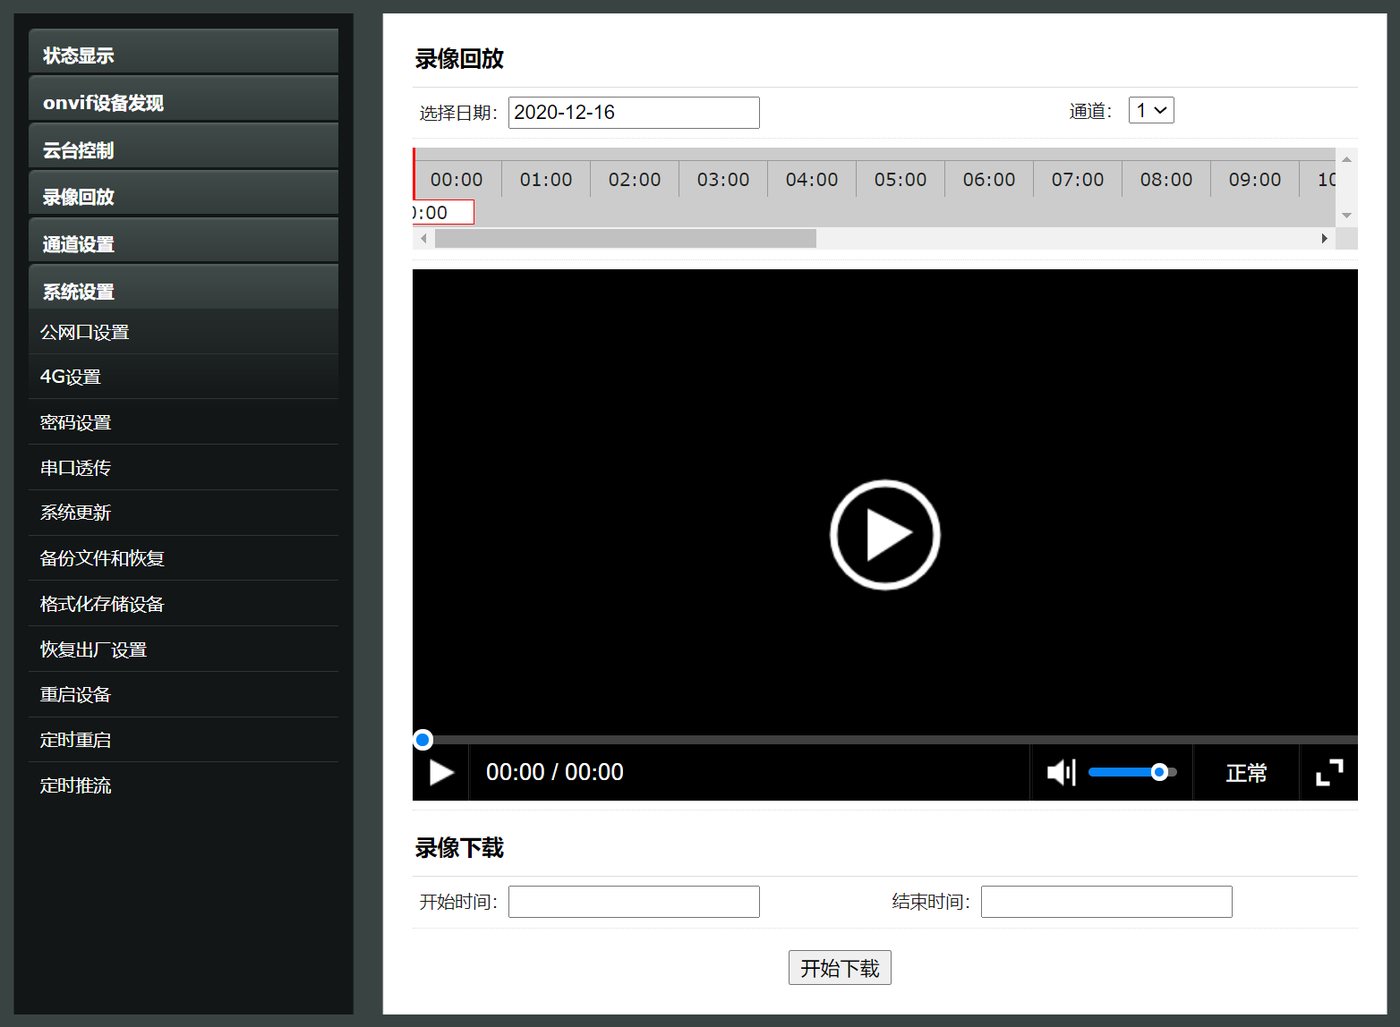
Figure 4
6. Channel Settings
Channel settings are used to configure the sampling rate and baud rate after audio encoding, and whether the recording function is enabled.
In channel settings you can choose to use the encoding function or the decoding function of the audio codec.
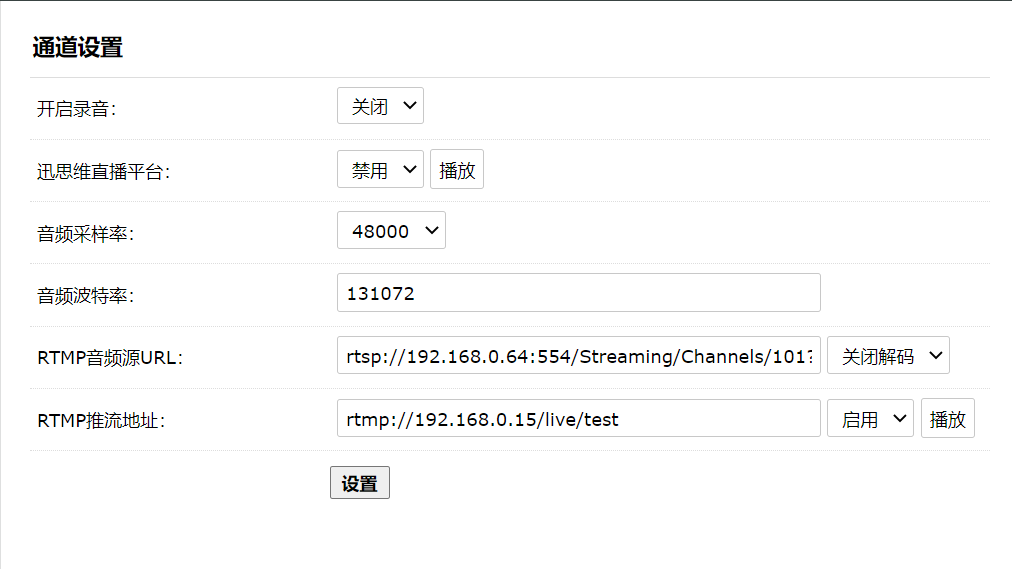
Figure 5
6.2 RTMP Audio Source URL:
This audio encoding/decoding video encoder has an audio decoding function. Fill in the rtmp/rtsp address of the audio stream here, enable decoding, and connect a playback device such as a speaker to the OUT interface of the audio codec with a 3.5 mm audio cable to decode and play the audio.
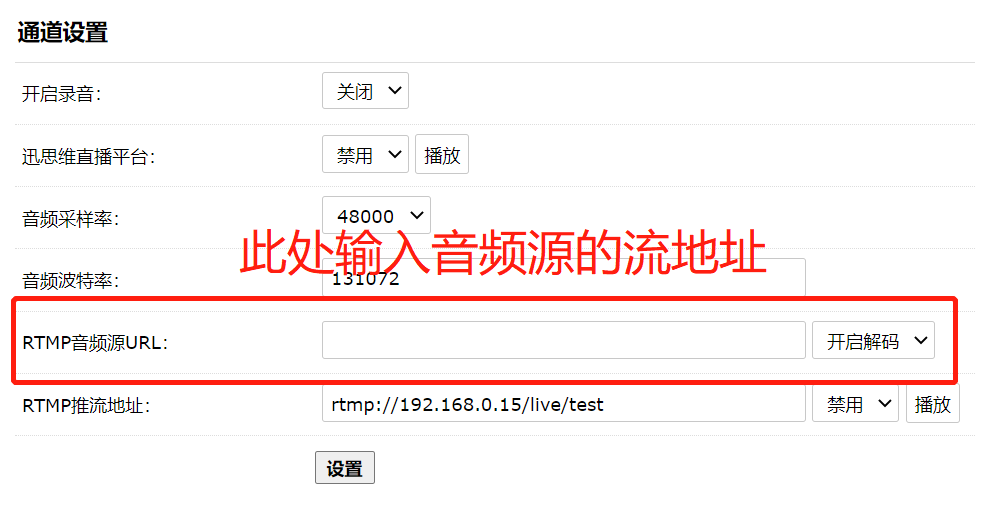
Figure 6
6.3 RTMP Streaming Address:
This audio encoding/decoding video encoder has an audio encoding function. After plugging the audio source into the audio codec through the 3.5 mm IN interface, the analog audio encoding function is available. The sampling rate and baud rate of the audio encoding can be set in channel settings. The default audio encoding format is AAC.
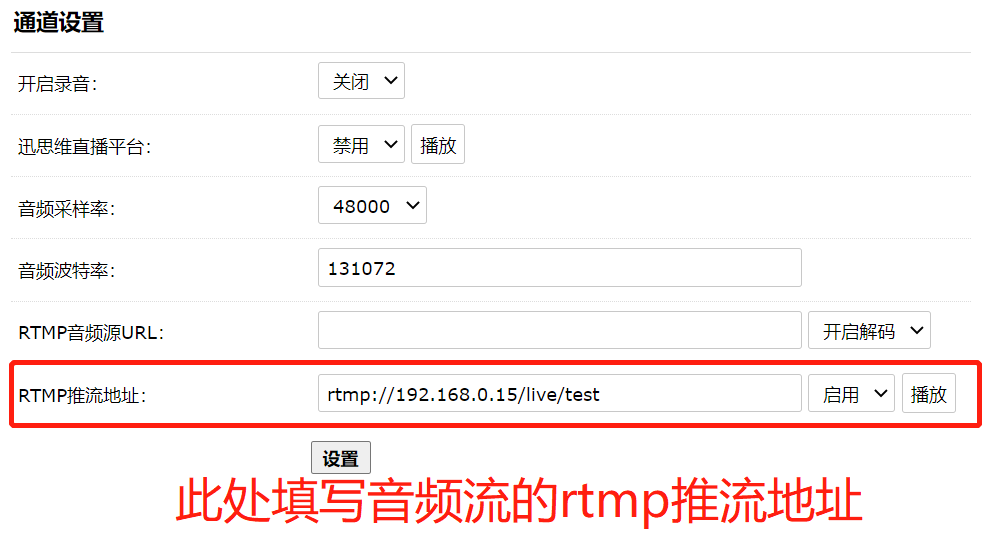
Figure 7
7. System Settings
System settings are used to configure device network information, system update, scheduled reboot and other functions.
7.1 Public Network Port Settings
Used to set the device IP address. You can choose DHCP or manually set the IP address according to your usage.
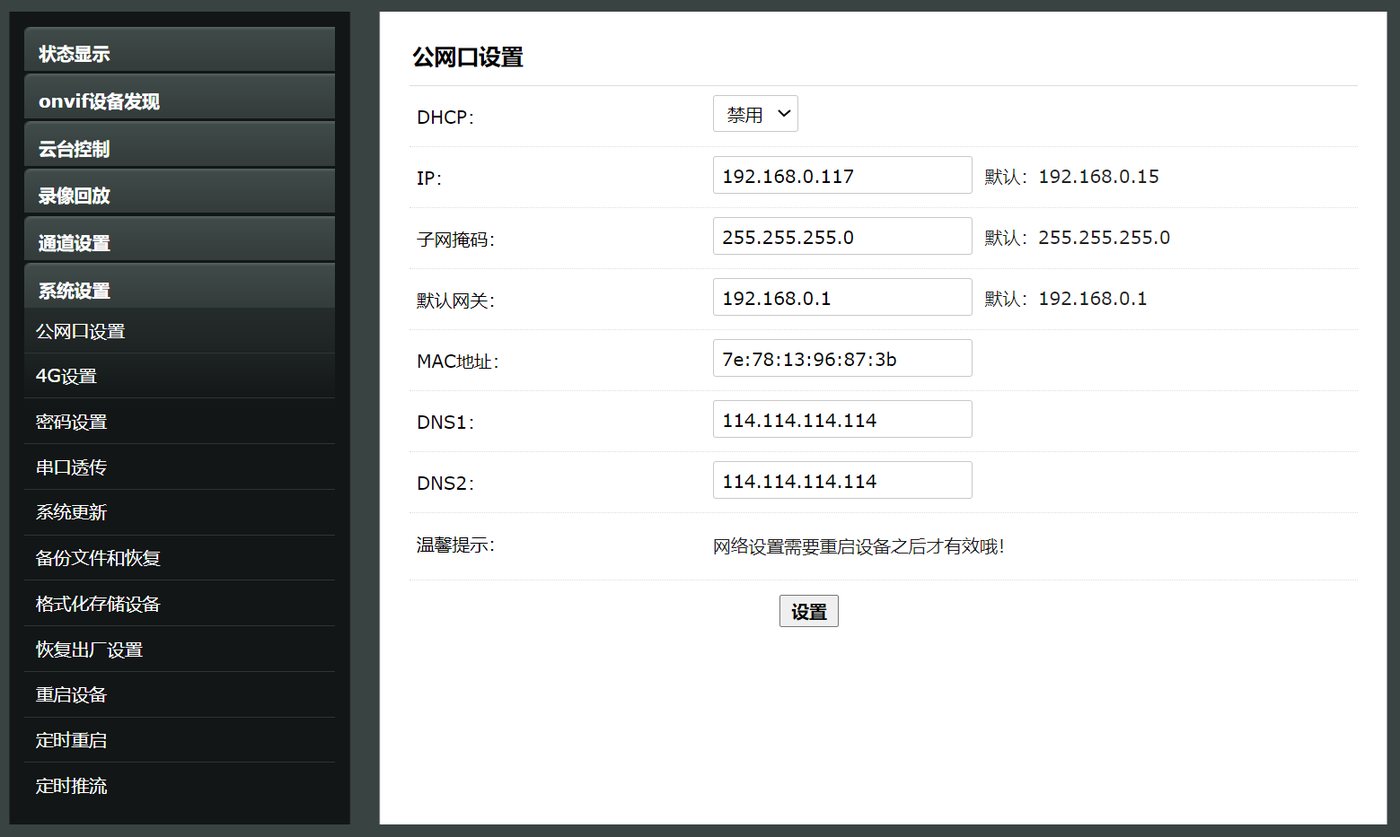
Note: when DHCP is enabled for dynamic IP acquisition, the device obtains an IP address from the DHCP server on the LAN and the obtained address is assigned automatically. If no IP address can be obtained, it is set to the default 192.168.0.15.
7.2 4G Settings
This device does not support 4G.
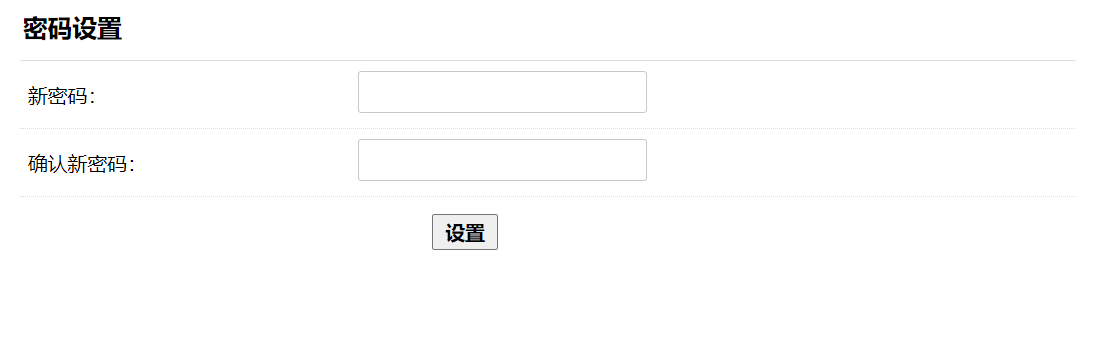
7.3 Password Settings
Set the management password for the user admin. The default password is admin; please remember the new password after changing it.
7.4 Serial Port Transparent Transmission
This device does not support serial port transparent transmission.
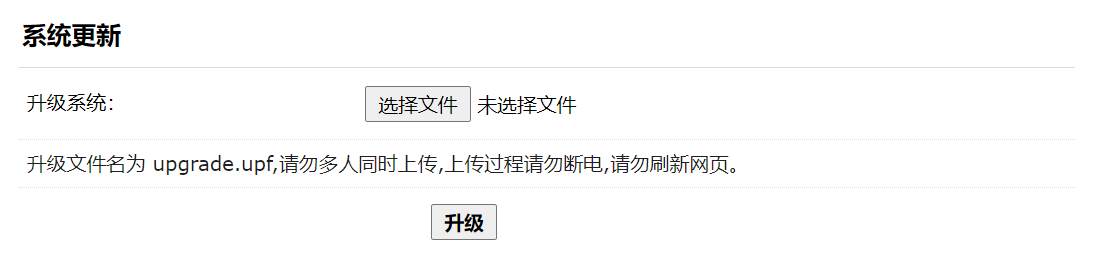
7.5 System Update
Used for system update and upgrade.
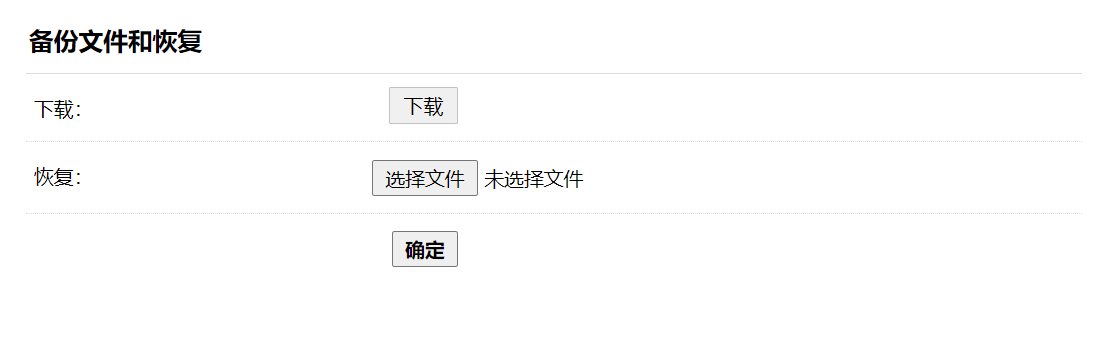
7.6 Backup Files and Restore
Used to back up and restore device configuration information; can be used for batch setup.
7.7 Format Storage Device
Used to format local storage. After formatting, the files stored on the device will be lost, so please operate with caution. Supported on storage models only.

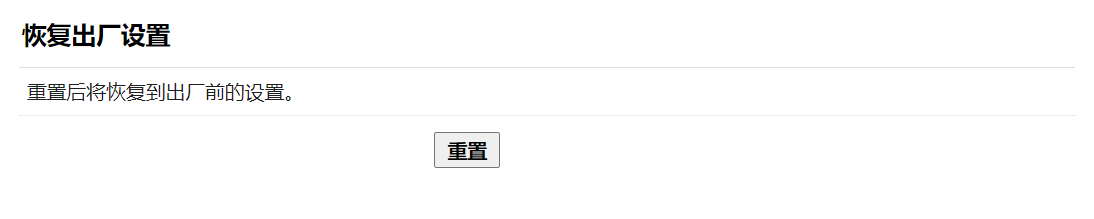
7.8 Restore Factory Settings
Used to restore the device to factory settings, including IP, default password, channel settings, etc. It is recommended to back up the existing settings before deleting them.
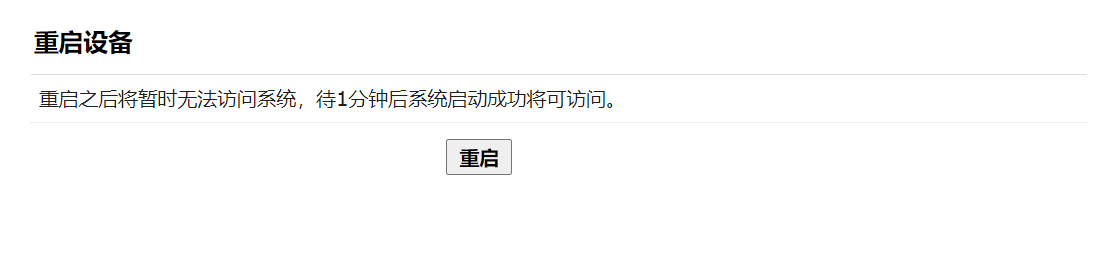
7.9 Reboot Device
Reboot the device manually.
7.10 Scheduled Reboot
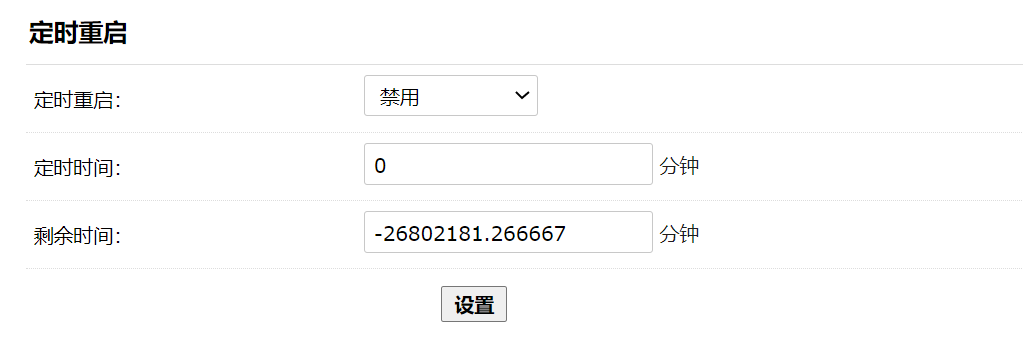
In some scenarios the device needs automatic maintenance. You can set the scheduled reboot period on the scheduled reboot page. You can choose daily reboot or automatic reboot at fixed intervals.
Daily reboot:
      When this option is selected, the remaining-time and timer parameters below can be ignored. The device reboots at 23:05 every day.
Fixed-interval reboot
      When this option is selected, you need to set the timer parameter in minutes. For example, if it is set to 60, the device reboots every 60 minutes. The remaining time below means how much time is left until the next reboot; a negative value means the device will reboot immediately.
Note: the first time this item is set, the device reboots immediately (the remaining time is negative, which means the device is about to reboot).
7.11 Scheduled Streaming
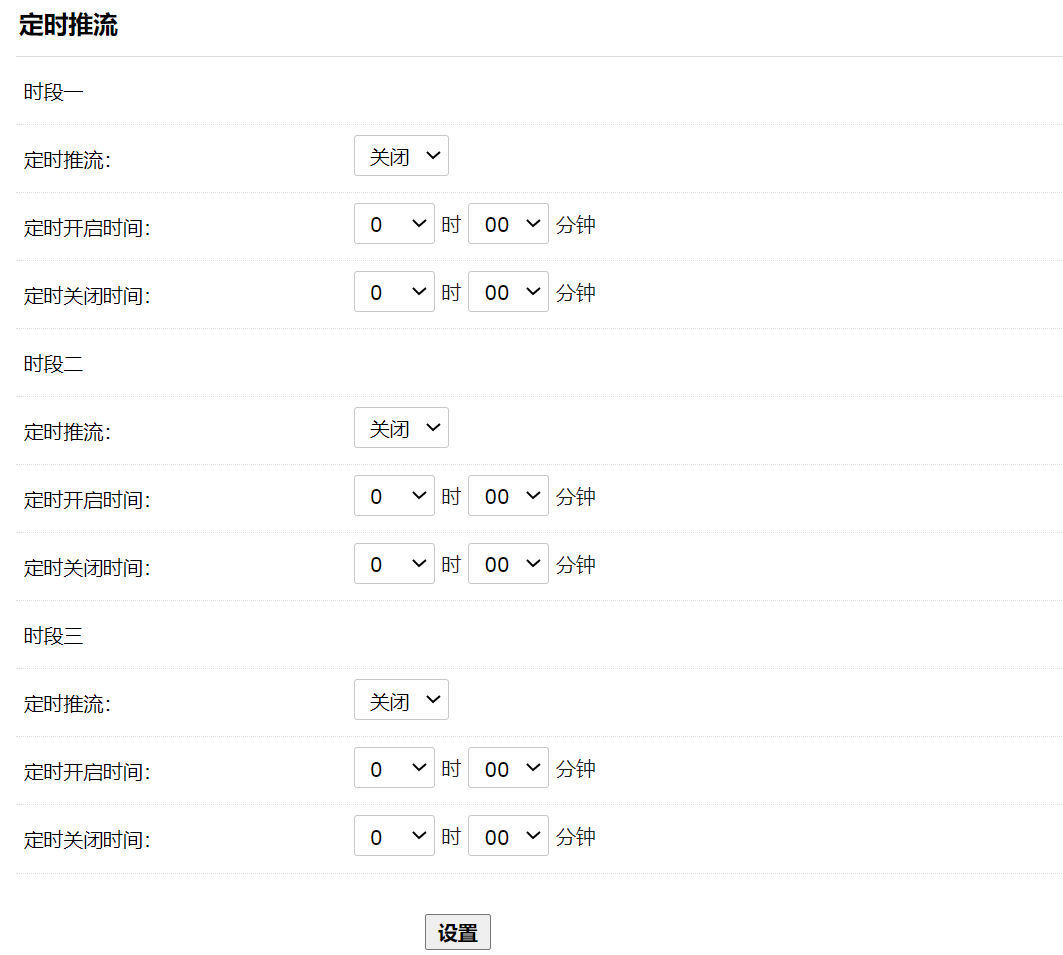
Set the device to stream during the configured time period. Currently six time periods are supported.

Streaming start time: sets when the video encoder starts streaming

Streaming end time: sets when the video encoder stops streaming
8 Used in pairs: encoder A for encoding and encoder B for decoding. Assuming encoder A IP is 192.168.0.15 and encoder B IP is 192.168.0.16
Set the streaming address on encoder A to rtmp://192.168.0.15/live/A
       Set the decoding address on encoder B to rtmp://192.168.0.15/live/A