Smart RecognitionCameraManual
Project: Device User Guide | page_id: 977
1. Device Introduction
It supports direct output of RTSP/RTMP/HLS/HTTP-FLV video streams, is compatible with NVR/DVR that support the ONVIF protocol, and also supports pushing the video stream directly to major live streaming platforms for broadcasting. It is suitable for building remote monitoring platforms and for video live streaming and other scenarios.
Please use the Search Assistant to search for the camera. The default camera IP is 192.168.0.10
2. User Interface
This device is configured through a web management interface, and supports management and configuration from terminals such as PC, tablet and mobile phone. On PC it is recommended to use the Google browser to manage the device.
The default factory IP address of this device is 192.168.0.10. You can use our dedicated Device Search Assistant software to change the device IP (see the Device Search Assistant manual for the change instructions), and then enter the device IP address in the Google browser to open the device management login page, as shown below:
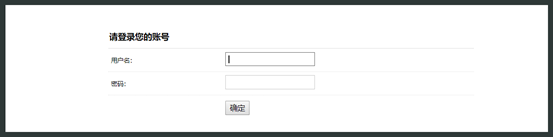
Figure 1
Enter the user name and password. The initial default user name is: admin, password: admin. Click OK to enter the device configuration page. The device configuration page is divided into two windows: the function settings window on the left and the function content window on the right.
3. Status Display
The home page of the device configuration page displays the running status of the device, including the software version number, network information, captured video frames, running time, CPU and memory usage, and channel running status. As shown below:
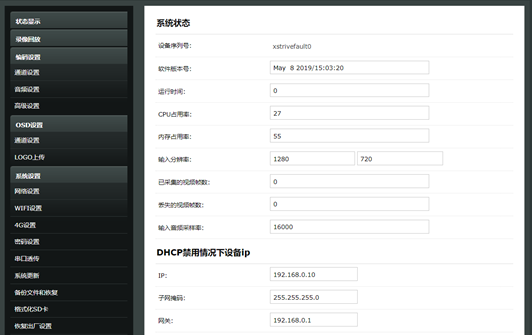
Figure 2
4. Recording Playback
The recording playback function is supported only by some models. This function supports video stream storage, playback and video download.
By selecting the date and channel number, you can play back the video of the specified date and specified channel number (the video must have been stored). Recording download supports downloading the video of any time period within the 24 hours of the selected date. Simply select the start time and end time below, then click Start Download to download the recording locally for storage and playback.
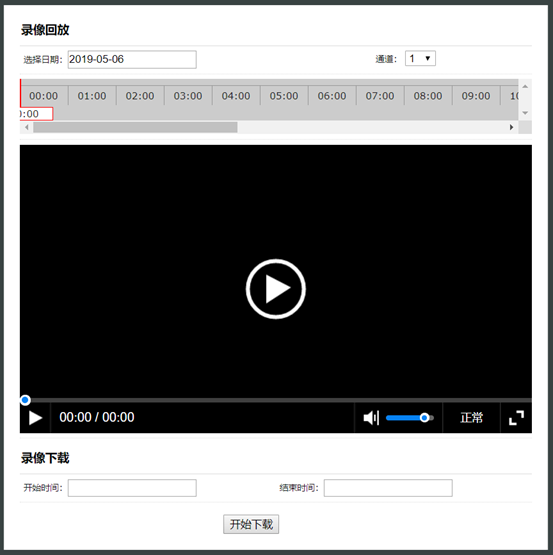
Figure 3
5. Channel Settings
Channel settings are used to set the main stream and sub stream video output parameters of the camera. Channel 1 is the main stream and channel 2 is the sub stream.
5.1 Encoding - Channel Settings
The encoding channel settings are used to set the camera video output parameters. It is recommended to use the default parameters.
The bitrate determines the video clarity. For 1920*1080 the recommended bitrate is 4096kbs, and for 1280*720 the recommended bitrate is 2048kbs.
The RTMP publish address is used for external stream pushing, for example pushing the video stream to major video clouds.
Live streaming platform:
All our streamers support the XSTRIVE live streaming platform. Users need to visit the XSTRIVE platform to register and bind the device before it can be used. Platform registration address: platform.xstrive.com
The multicast IP and port are used to configure the IP and port of the multicast TS stream
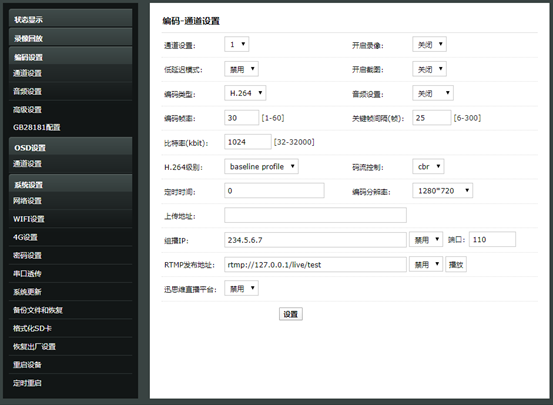
Figure 4
5.2 Audio Settings
Used to set the audio sampling rate and encoding method. It is recommended to use the default parameter settings.
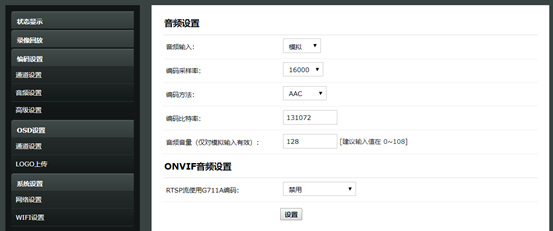
Figure 5
5.3 Advanced Settings
Used to set advanced video parameters. It is recommended to use the default configuration parameters.
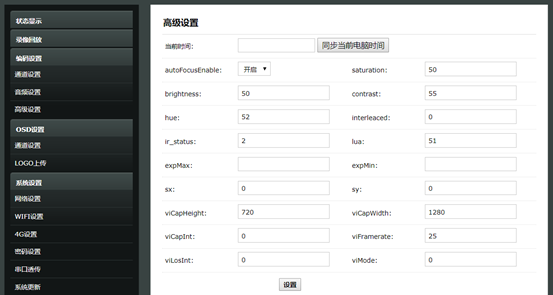
Figure 6
6. OSD Settings
Set the camera OSD information. You can enter a time subtitle or text here.
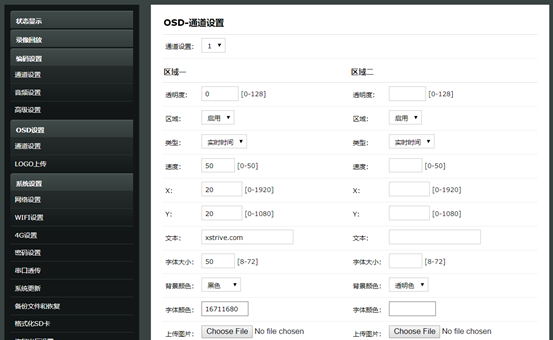
Figure 7
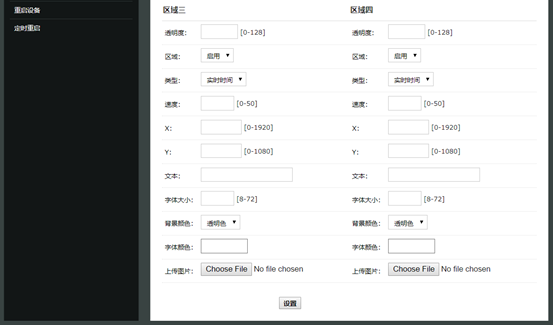
Figure 8
7. System Settings
System settings are used to configure the network information, system update, scheduled restart and other functions of the device.
7.1 Network Settings
Used to set the IP address of the device. You can choose DHCP or manually set the IP address according to the actual use.
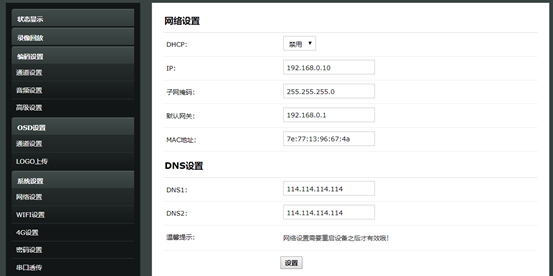
Figure 9
7.2 WIFI Settings
This setting is only for cameras that support WIFI.
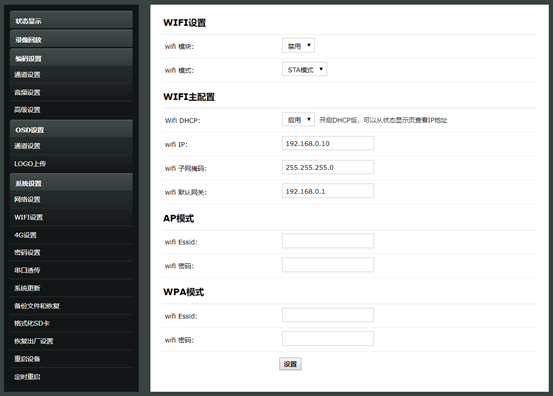
Figure 10
7.3 4G Settings
Only for models that support 4G. Used to set the 4G dial-up account and information.
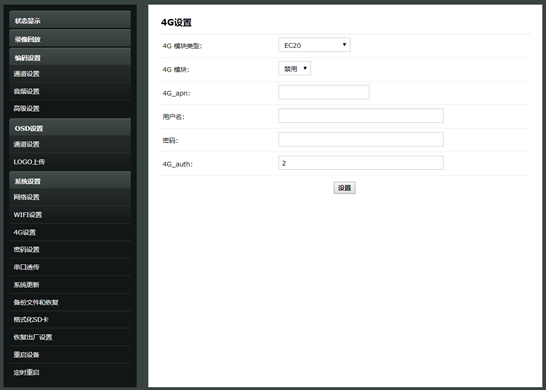
Figure 11
7.4 Password Settings
Set the management password of the user admin. The default password is admin. After changing it, please remember the new password.
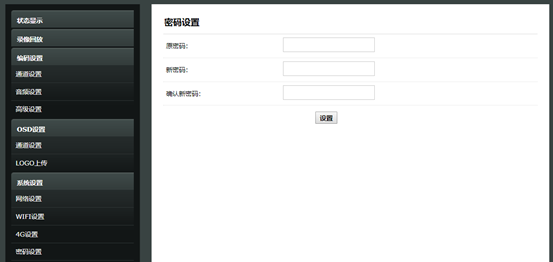
Figure 12
7.5 Serial Port Passthrough
Only for models with a serial port. Currently only TCP client mode is supported.
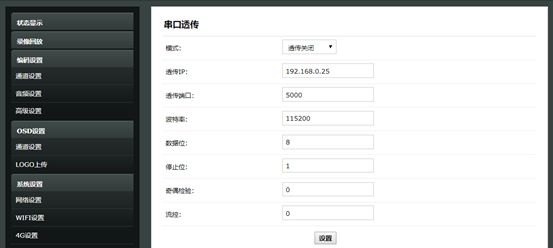
Figure 13
7.6 System Update
The device supports online upgrade. Click the Select File button, select the prepared upgrade file, and click Upload to start the automatic update. When the update is complete, the system will require a restart. Before upgrading, be sure to use the backup file and restore functions to save the configuration information
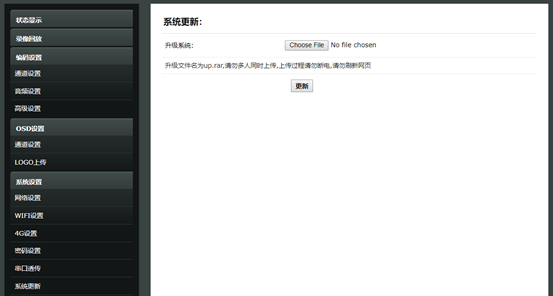
Figure 14
7.7 Backup File and Restore
Used to back up and restore the device configuration information
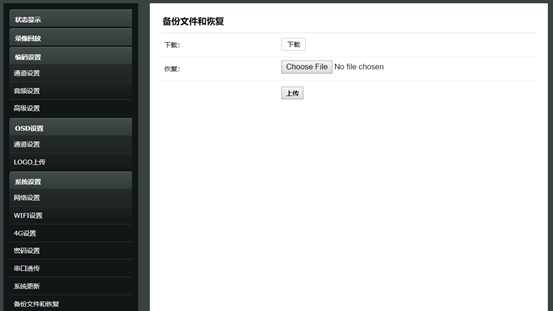
Figure 15
7.8 Format SD Card
Used to format the local storage. After formatting, the files stored in the device will be lost, so please operate with caution. Only supported by models with storage
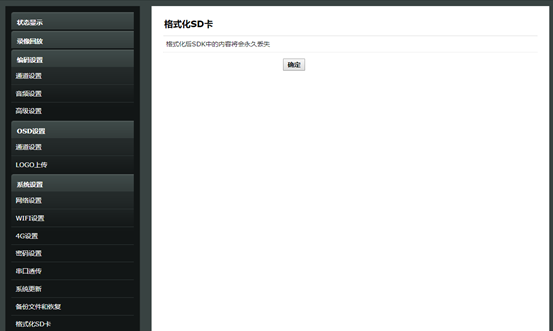
Figure 16
7.9 Restore Factory Settings
Used to restore the factory settings of the device, including the IP, default password, channel settings, etc. It is recommended to back up the existing settings before deleting them.
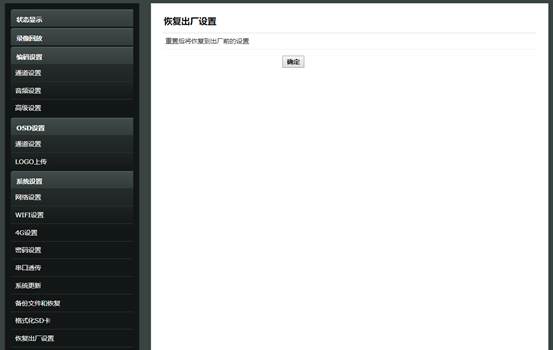
Figure 17
7.10 Restart Device
Restart the device manually
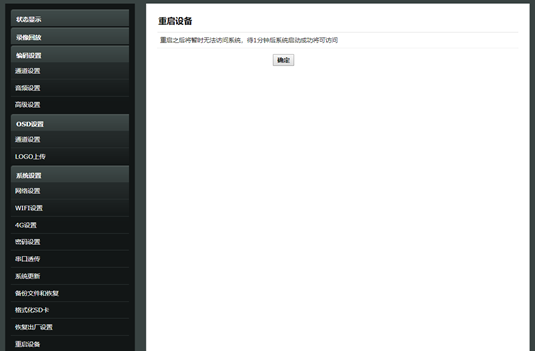
Figure 18
7.11 Scheduled Restart
In some scenarios, the device needs automatic maintenance. You can set the scheduled restart time period on the scheduled restart page. You can choose to restart daily or at fixed time intervals.
Note: When this item is set for the first time, the device will restart immediately. (A negative remaining time means the device is about to restart)
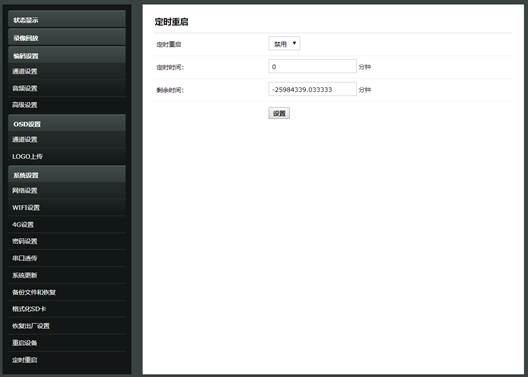
Figure 19
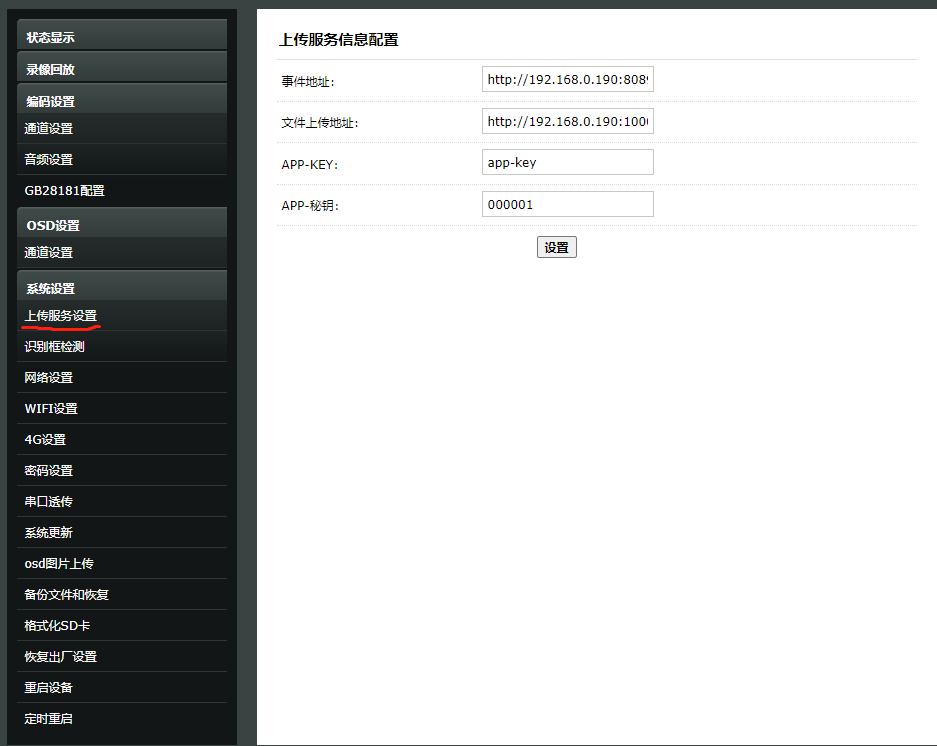
8. Upload Service Address Configuration
Upload the camera recognition results to the server through the configured upload server address.
9. Detection Box Check
Click 【Detection Box Check】 on the left to jump to the detection box configuration page
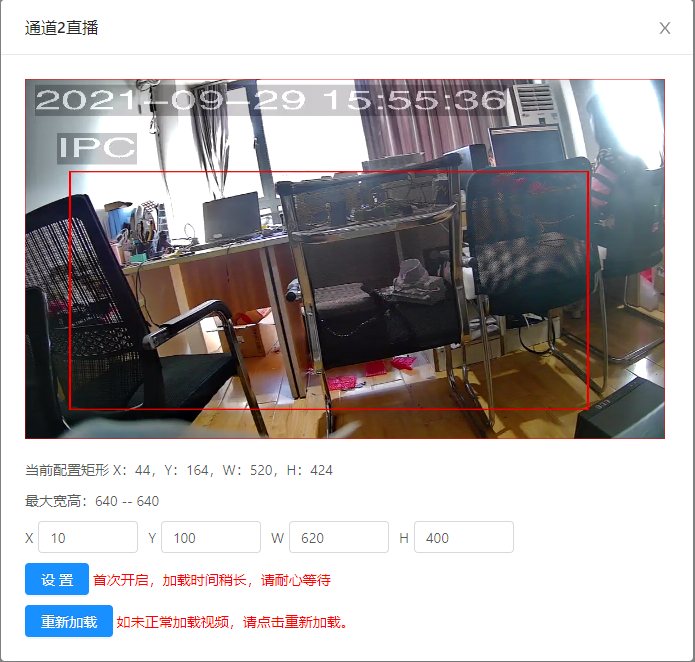
Here you can manually enter the detection box coordinates, or draw the box directly with the mouse, and finally click the 【Set】 button to save successfully.
If the image is not updated in time, you can click 【Reload】 to quickly refresh the image.